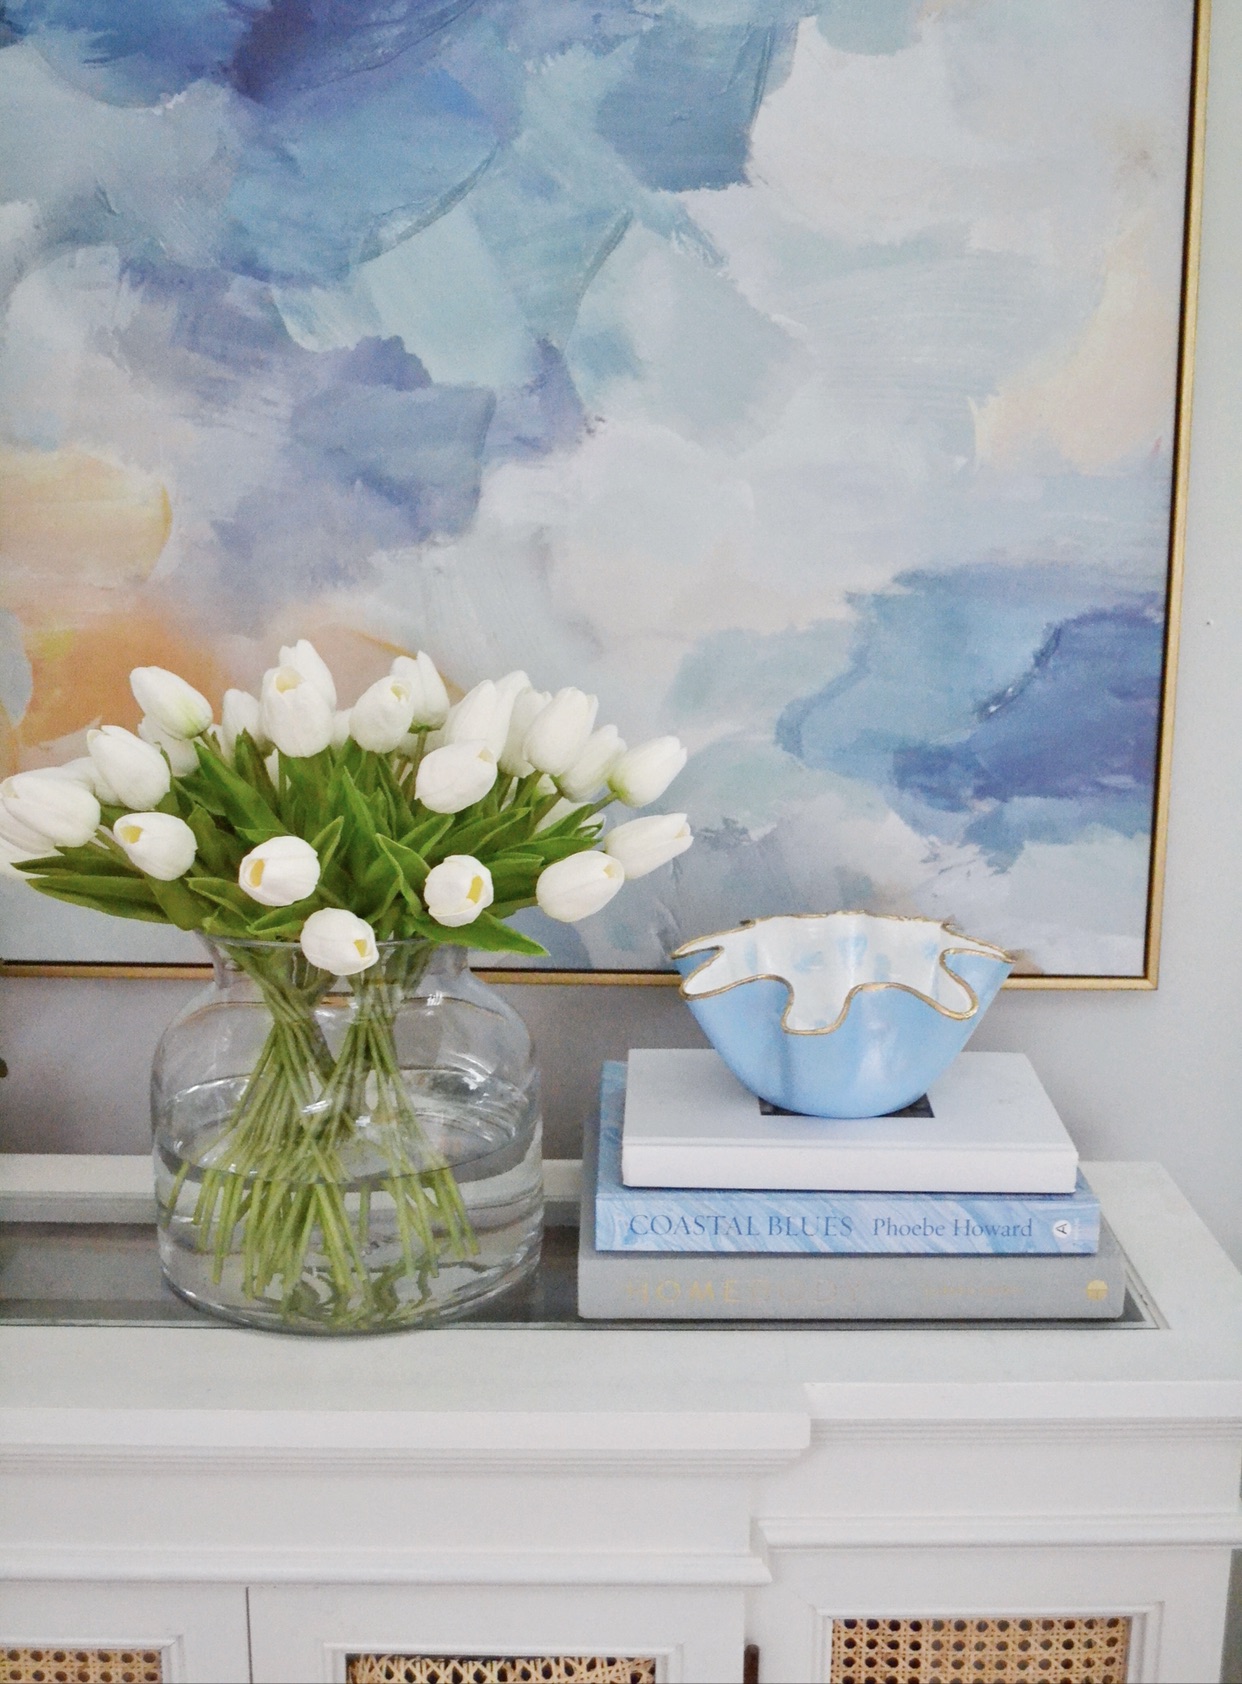
I have always had a love for decorative bowls, especially those with a unique shape. I found this bowl on many different sites, however the price tag was just a little too steep for me.
I have seen so many use modeling clay to create some great pieces and I had never used the product, so figured this would be the perfect beginner design to try and recreate.
Here is what you will need to recreate this same bowl.
Supplies:
I used DAS modeling clay and it was really easy to use and rather inexpensive. I started out by taking about a 1/4 of it and placing it on my cleaned counter top. I then took out my rolling pin and rolled it out like I would if it were cookie dough. You want to make sure that the dough isn’t too thin, as it will then be too fragile in the end.

From here, I found a larger sized bowl and laid it on top of and then cut that circle out using a knife.

Now you will need to find a smaller size bowl that has a clean/flat surface. I ended up using a smaller Pyrex bowl that I had and I placed that on top of a glass hurricane so that I could easily drape the round dough over top, as you can see below.
Having the ability to have the bowl drape over really made it easy to create the wave look I was going for.


Once I was happy with the shape of the bowl, I set it aside and let it dry overnight. It needs about 24hrs to cure. I checked it every so often and slightly lifted it off the small Pyrex bowl, just to make sure it wasn’t sticking.
The dough will be hard once it is dry, and lighter in color than when you first started. Mine took about a day to really dry.
As soon as it was dry, I took a piece of 180 grit sandpaper and went around the top edges as well as inside the the bowl to smooth out the rough parts.

With all parts of the bowl smoothed out, I was now able to paint it. I made sure that any residual dust from sanding was removed as I didn’t want that under the paint. I chose to paint mine a light blue, but truly these can be any color.

I used basic craft paint from the local craft store. I painted the outside blue and the inside a bright white. My inspiration bowl had small dots on the inside, so I used a small round sponge brush to recreate this look. I chose to use that same paint I used on the inside for these dots.

In order to give a shiny look to the exterior of the bowl, I found that applying an iridescent medium craft paint created the perfect “glossy” finish. I tried to apply a gloss finish, however it didn’t give it the shine I was looking for.

One of the last steps was to apply the gold rim to the top edge of the bowl. I found an oil based paint pen at the craft store in a metallic gold finish. This ended up being the perfect color and finish for the look I was going for.
The last step is to seal the bowl. I ended up just using Mod Podge in a gloss finish. This bowl will purely be used for decorative purposes, so there was no need to worry about a food safe product.
Here is the end result! I love how it turned out and I can’t wait to create this in a larger version. This is a DIY that everyone can achieve, just take your time!


This is a DIY that I feel EVERYONE can handle, I know some DIY’s are much harder than others, but if you follow these simple steps you can absolutely create this!
If you do attempt it tag me in your image or send me a DM on Instagram! I would love to see your bowls!
