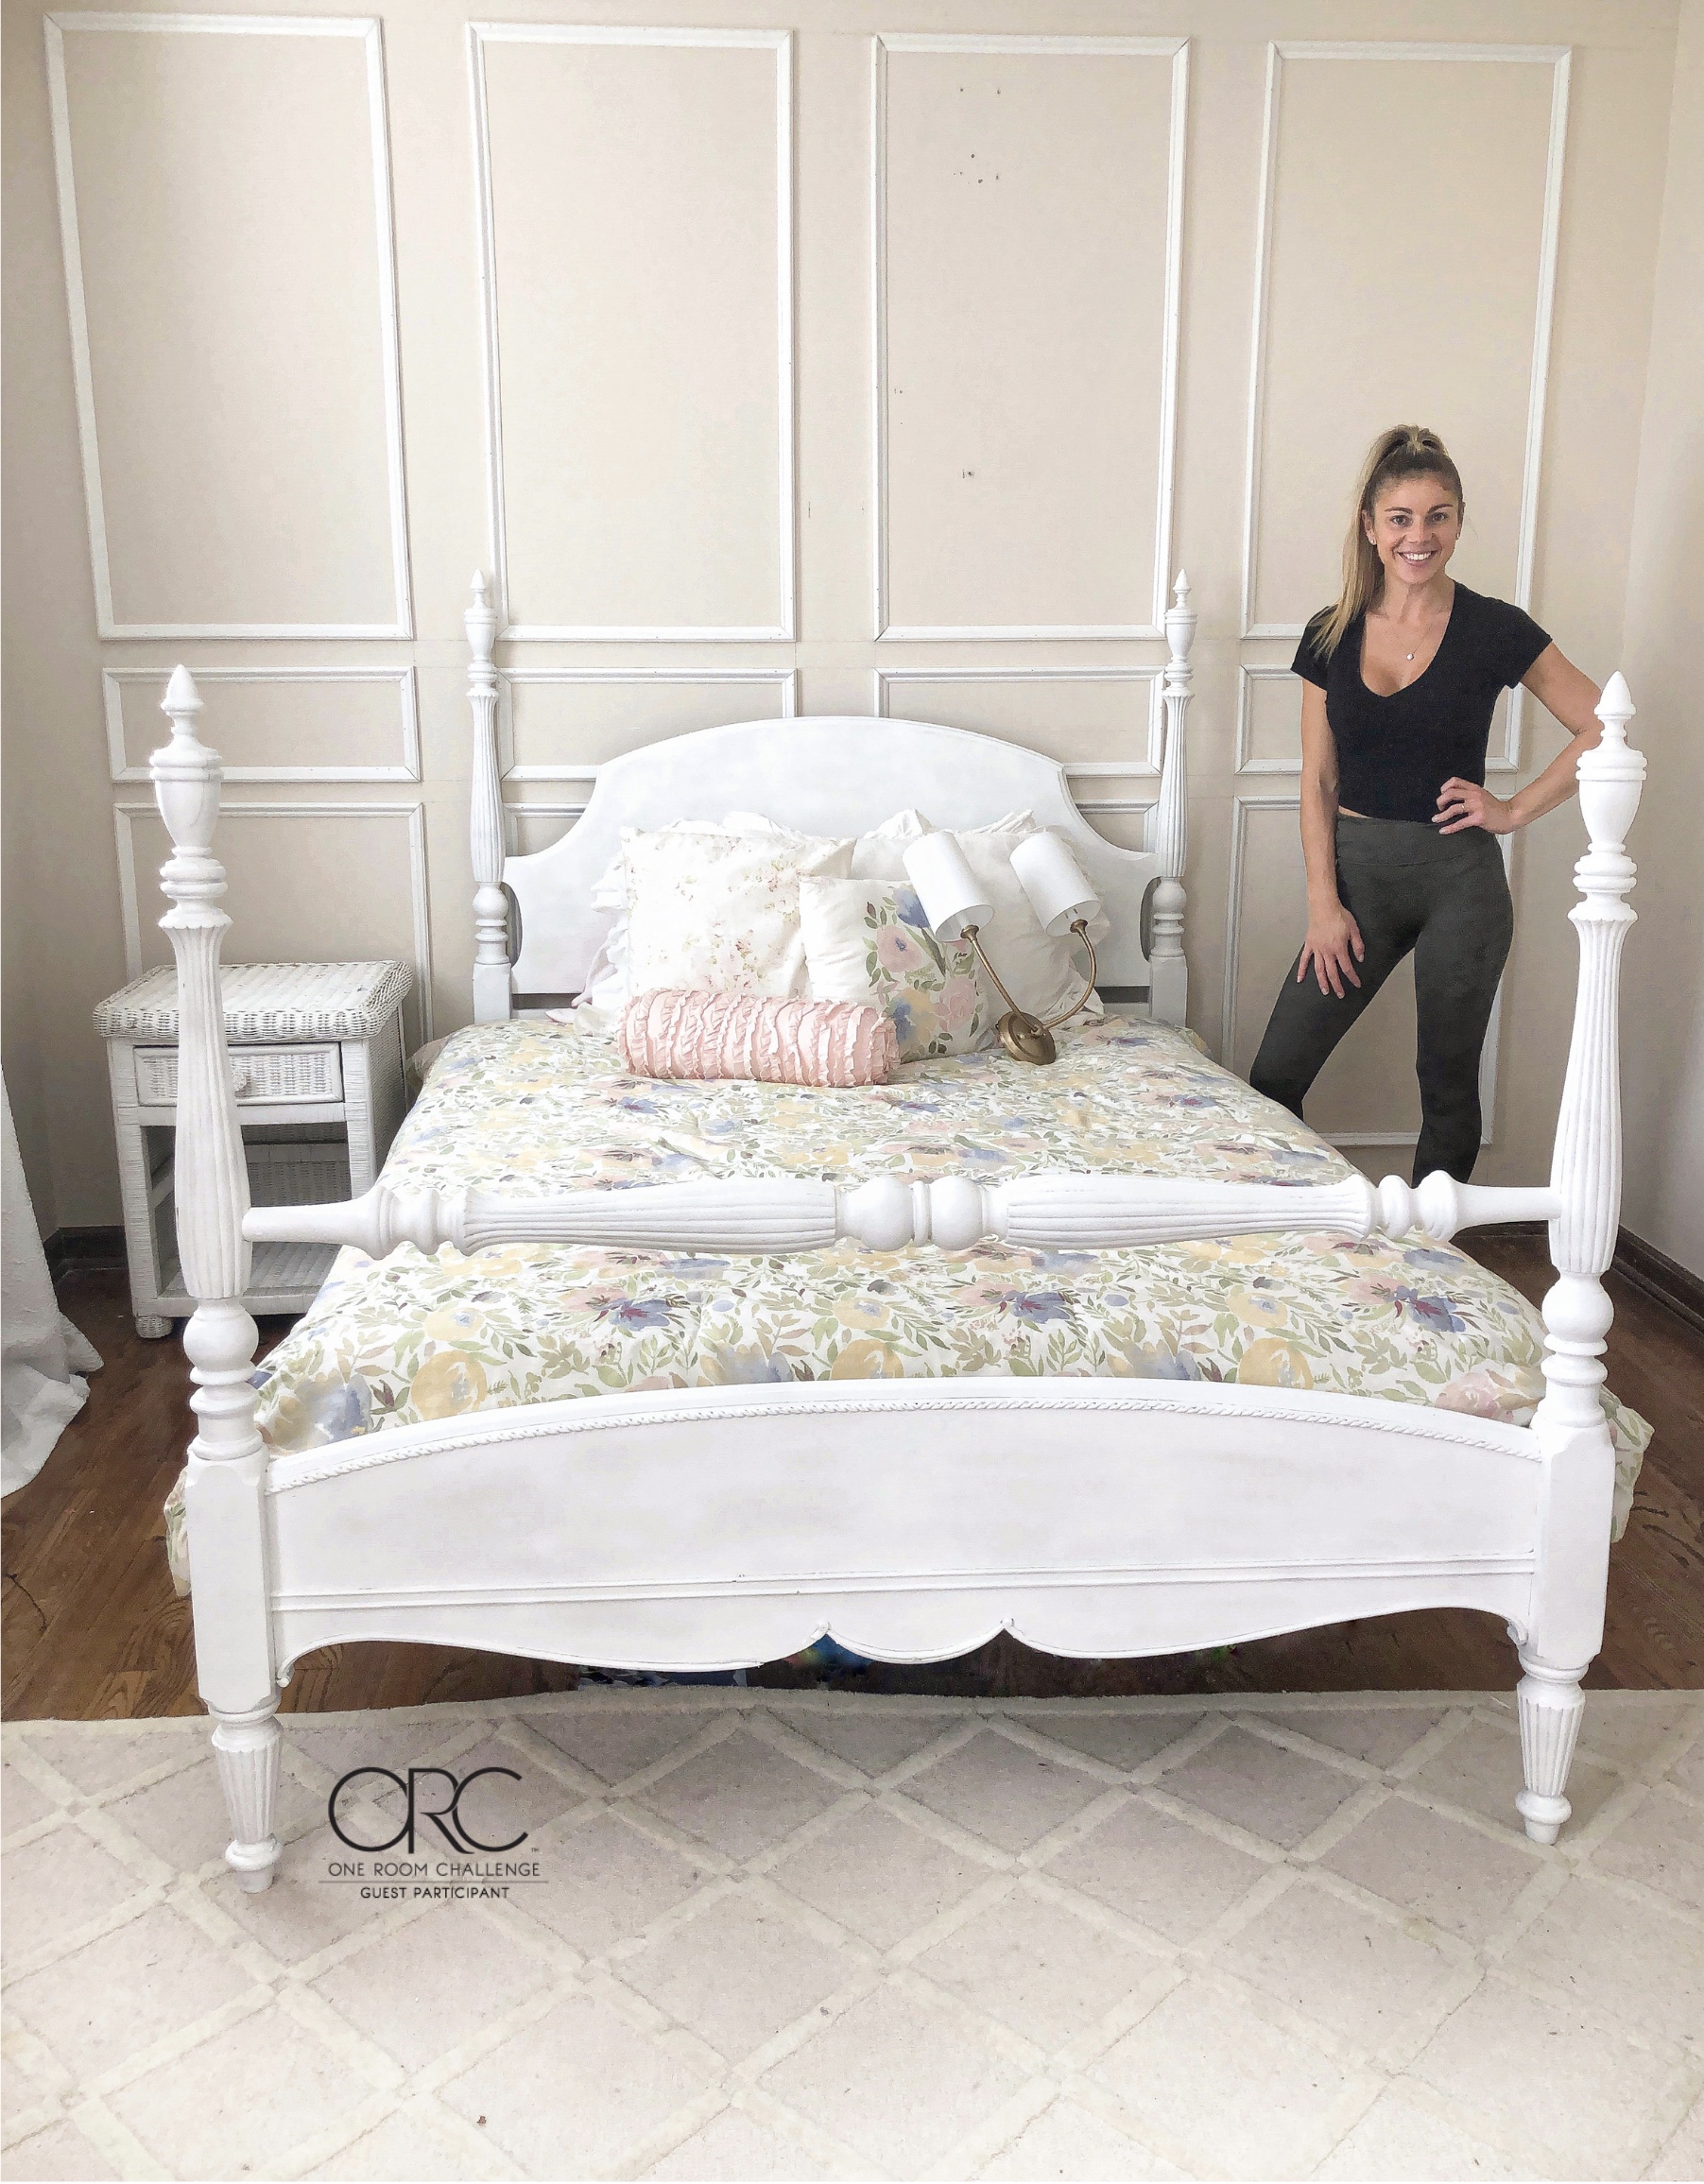
This past week was an exciting one in my daughters room, I was able to get the molding or the accent wall up and it completely elevated the look of her room. It was also a lot easier than you might think, thanks to the molding shears!
If you follow along on Instagram then you know what tool I am referring to, if you do not let me show you!
These made the process of putting up her molding so easy, as I did not need to run downstairs to the saw to make each cut. It also eliminated that one other thing that needed to be cleaned up!
I detailed how to use these on my Instagram account, I took a detailed video of how to adjust them as well as how easy it is to cut through. Note that I was using PVC molding so that might have added to the ease of cutting.
Here is a short video showing some of the steps!
I highly, highly recommend this tool if you are attempting a wall similar to this one!
Now that I got that discussion about the tool out of the way, lets get into how I went about the molding.
If you are going to attempt molding like this, I would suggest measuring the wall and finding the direct center. This will help you to get an even number of boxes on the wall and not come up short to have one narrower than the rest.
I found our center and then thought about how far apart I needed each to be in order to get an equal amount.
For me, the boxes looked best at 24″ wide, so in order to get an equal amount I needed 6″ between each with 8″ at each side of the wall. This would give me equal placement and the general look I was going for.
While trying to figure this out I drew it out on the wall with pencil, just to make sure I was liking the way it was going to look. I HIGHLY recommend using a large level like this one to draw your lines and map out your plan. It will make putting the molding up that much easier!
After I did this, I then taped out each of the boxes so that I could really see. I very much encourage you to do the same, so that you don’t dive into cutting your molding and then end of hating the design.


Now that I had my plan and all the calculations, I was able to start the process of the molding. I started with the first small box, just was my preference.
All the angles that were being cut were 45 degrees, which helped the process to move quickly.
I used my finish nailer, well my dads because mine was broken at the time, and got that first piece up! I was so excited to see it as I have been waiting to do molding like this in our home and was so happy her room was getting it!

Here is a time-lapse showing how I put up each piece.
It took me a the whole morning to get half way through the wall, but I was loving the progress!

I then drew out the next set of boxes and got them up through the other half of the day. All in all, this one wall probably took me 6 hours to complete with stopping to help my kids and do virtual learning hahaha.

I was extremely happy with the outcome! Now its off to caulking and getting the whole room painted!

I hope you found this helpful! If you have any questions just leave them below in the comments!

What molding did you use?