
I’m not sure about you, but I am a true lover of all things Serena and Lily, however the prices of some things can be a bit steep! I have always loved the Downing coffee table, and after really looking at it closely I knew I could recreate it.

I was building this table for our formal living/office area and I didn’t want anything too large. I checked out Home Depot and found that they sell solid wood round table tops. Here is the one I had picked up, its 24″ round and was the perfect size for what I was looking to do. I did find that Walmart has some options for larger sizes here.

I then grabbed two 8′ long 2×2 pine boards. Just make sure when you are in your wood store looking for these that you really check them over. I have found that these can become really warped in the stores, you want to make sure it is as straight as possible.

You will also need some 2.5 – 3″ screws, we used 3″ because that is what we had, but either size will work.
The downing table has an overall height of 19″, however I wanted my finished table to be 18″ high as it would suit my space better. Since the round wood is 1″ in depth, we cut two 2×2 boards to to 17″ long, these would be the middle legs of the table.
We found the exact center of the table top and placed each corner of the legs at that point. Meaning, that we turned them so that the corners were touching, as you can see below.


Now that we had those pieces cut, it still didn’t seem right to me, the Downing table has a tapered center support and to accurately achieve the look we would need to shave off the corner of each leg. So, we broke out the table saw and measured 1/2″ in on the bottom, and slowly tapered it down. You can see better in this video, mute the volume as its loud!
Once both legs were cut, this is now how the bottoms looked.

Remember these are the bottom of the legs, and the two cut pieces will be turned to face each other. You are trying to achieve this look of the downing.

Now that the pieces are cut and tapered down, you can now attach them to the center of the table. For this part, we screwed them from the top down, I actually held the boards in place while my husband screwed them in.


Now that the middle legs were cut, it was time to figure out the short base legs (the green arrow), I figured this out by thinking of where I wanted the side legs (the blue arrow) to hit the table top.

The base legs for this little table were cut to 6″, if I were to recreate this exact table I would maybe cut these at 7″ as I think a little longer would of been better.
Now that these were cut, we had to figure out the angles for the end that would run into the side legs. At first we thought the angle would be best at 15 degrees, however that made the side leg too angled, so we decided to go almost in half at 7 degrees, and that was perfect!
The end of this piece does not need an angle cut, as its just running straight into the middle support legs.

Now that these were cut, we needed to cut the four support legs, we cut these at 17.5″ to accommodate the angles that would need to be cut on both ends.
You need an angle at the bottom, the part that will sit on the ground, so that the table sits flat. As well as an angle at the top part, is so that it hits the table top correctly. These two angles will both be 7 degrees, but opposite of each other, meaning you have to adjust the direction of the saw when cutting each.

In the above picture you can see that we attached the legs in a similar way that we did the middle, by just screwing them into each other. In the end, you will putty the holes with wood filler and sand it all down.
Lastly, you will just need to secure the side support legs, by screwing them down the same way you did the middle ones.
That is it! You’ve build the table! Not a hard DIY at all, you can easily use the same angles to create a larger version of this, I am actually thinking to make a larger one for my family room!
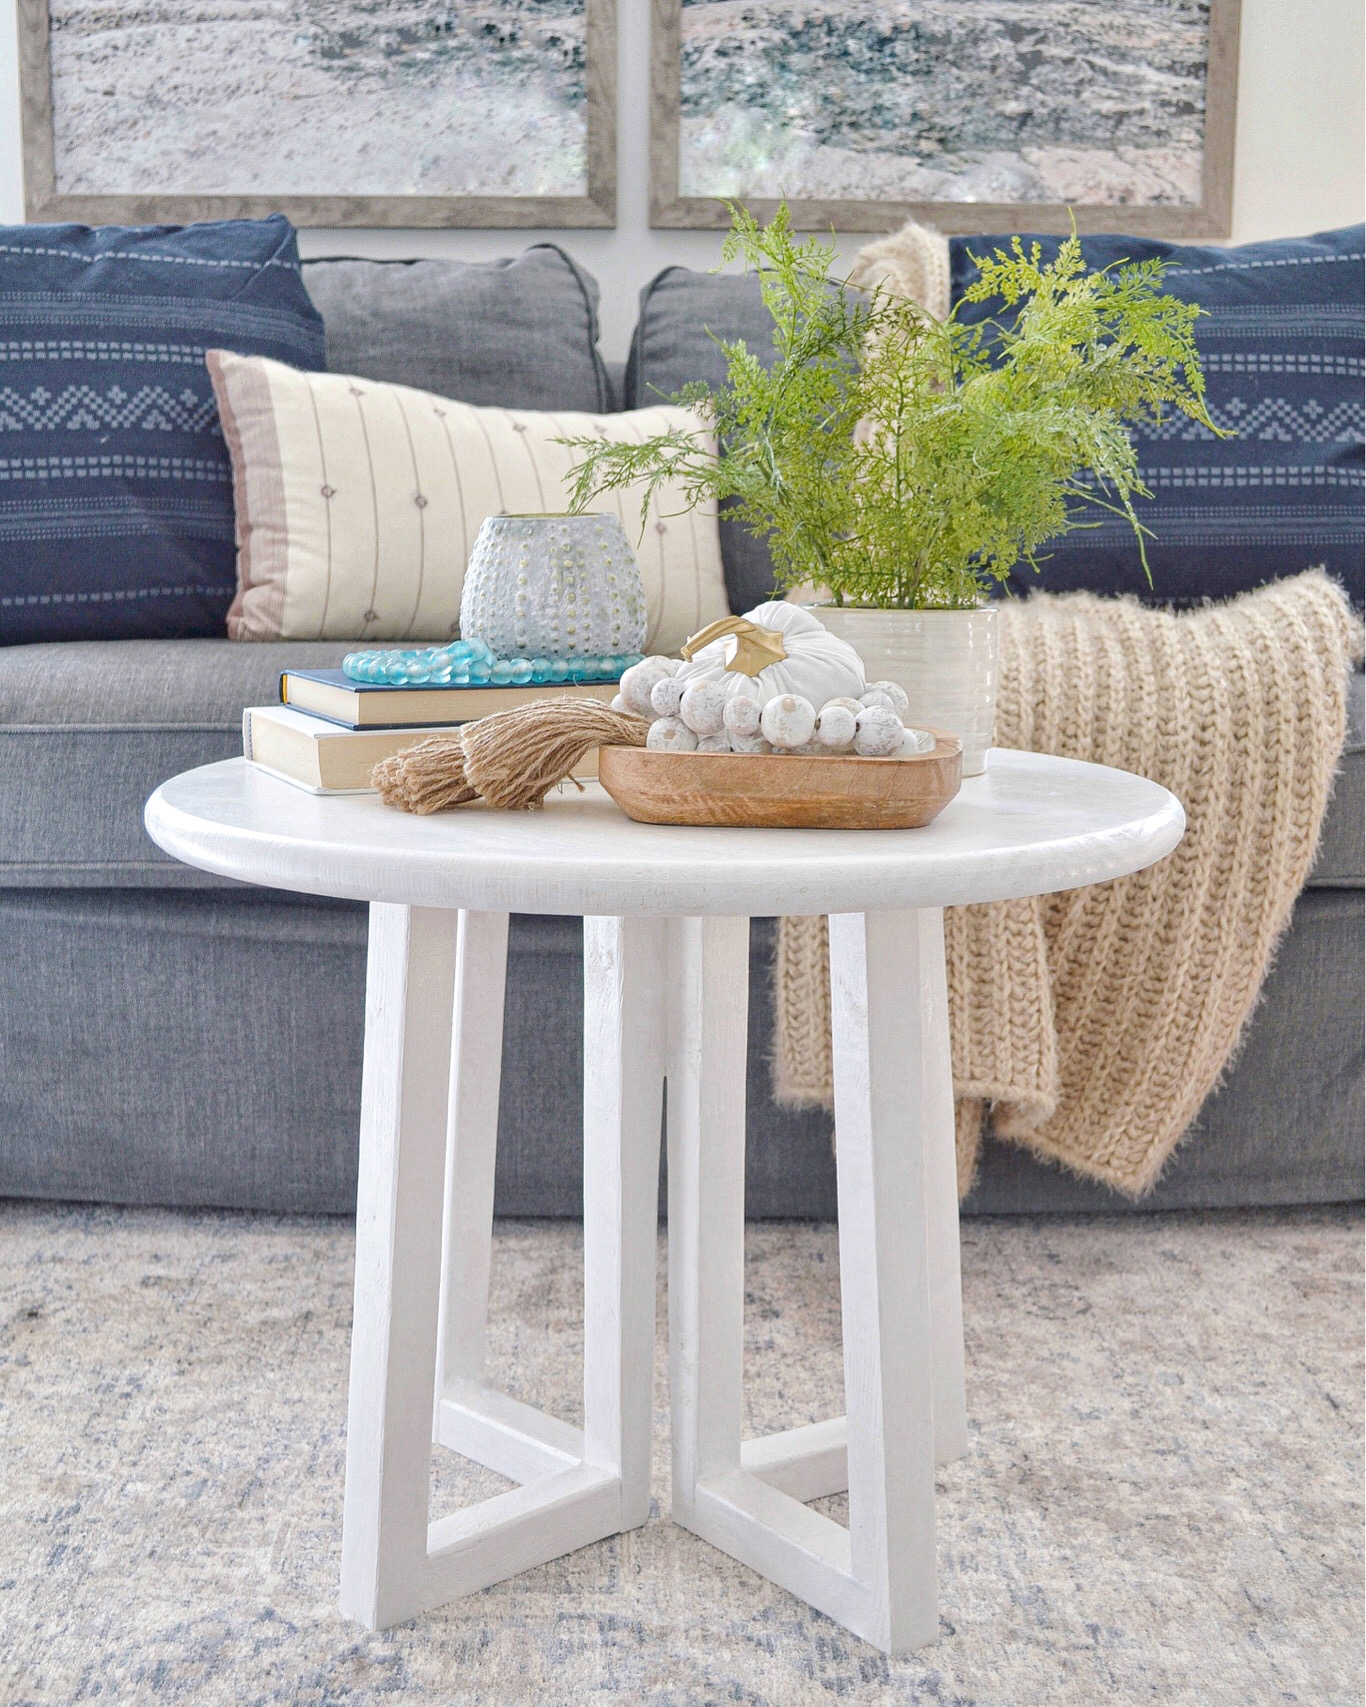
I ended up painting mine white, I just used white semi-gloss paint I had in the house, it covered great (needed 2 coats).

I hope you found this helpful, if you end up making a table make sure to tag me on Instagram so I can share with everyone!
xo, Ashley
4
[…] decided to build a dupe of the Serena and Lily downing table, I detailed it all in this post. Creating the table was easy, and it definitely helped the […]